Author

Ankit Kumar

Browsing

Most of the websites you visit to get the definition of the framework in software terms but unfortunately, these definitions are not able to provide you the whole perspective and this question is most of the time is asked in verify of interviews .so trust me this post is gonna for you to completely understand the difference between library and framework. So without wasting any time, let’s get started…


Now let me tell the what the issue is many people say to try to understand what is a library and what is the framework and you get both answers but this is not perfectly a correct thing,  we have to understand both sides by side.


I will explain the framework in a simple way.
Suppose you have to make tea on a daily basis with several ingredients like sugar, tea leaves, other spices, water, etc. In doing this on a regular basis you find it really difficult to put all ingredients in the right ratio all the time. You may miss any item some time and you have to open several boxes one by one.

So one day you got an idea mixing all ingredients in one jar in one ratio such that every spoon serves the right ratio mix to tea(excluding milk and water).


Now the jar is your framework. When you have to do a lot of things on a regular basis it requires a lot of time but the framework not only saves time, it also provides a lot of components to your application. Fast and easy.
On the other hand, When you have fewer rules it is a library and when you have more rules and restrictions, of course, it is going to be a framework.
Let’s take an example.


Home and school and you are a student. When you are at home you can place your books, band anywhere you want. But when you are in school you are restricted to come in proper uniform, place your books and bags in the table.


In the same way, you can do anything with the library, modify and use it. In a framework you are bounded by rules, you are not allowed to change, yes you can change, but it requires a lot of settings and configuration changes.


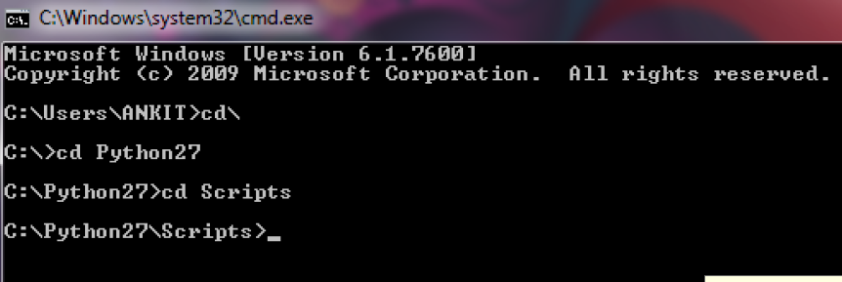
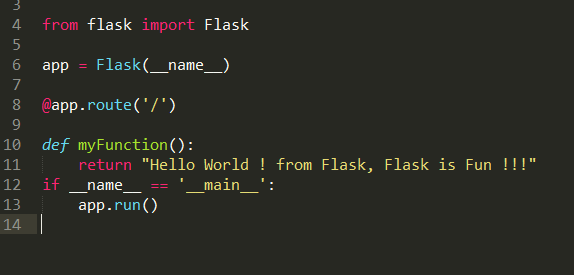
In other ways when you have the power to call a  code whenever you like, it is simply a library. In frameworks, It calls the code and your code might call the library. But in framework let it is CodeIgniter, you are restricted like your helper folder should always be a helper, can you change it? Of course, you can, but need to dig up in settings, configurations. API is a bridge that connects the framework and library.


Libraries are a collection of codes, functions that save your time by implementing all the functionality you want. There are different libraries for different tasks. You may not know how the functions inside the library perform their job. You just need to know how to call the library.


While frameworks are just like a library in a way that makes your job easier but you can not call a framework as a library you call. If you want to use a framework, you have to learn first. 

Flask is the web development light-weighted framework.  In order to do this, it needs to do some configuration to your machine that is I am going to tell you in this post.

First of all, you need to download Python 2.7 from its official website. And install it to your system.

Now you will get the folder which is Python 27 in your C drive. Now open it and copy the path and go to your desktop and right-click on My Computer icon and click on properties.

After that, a small window appears and in the right bottom, you get a button named Environment Variable, click on it.

Now you will get two boxes of System and User respectively. Under the System, box click on path variable and Paste then the path that you copied it in beginning.

Now open your CMD and go to your Python 27 and Scripts directly by CMD.

This image has an empty alt attribute; its file name is how-to-configure-flask-in-python.png

When you are inside it just type the command: pip install flask

And hit enter, it may take 2 or 3 mins depending upon your INTERNET speed.

Now make your project folder in any directory in your system. In my case let say I have created it in E drive and inside it create another folder named app and again inside it make two folder named templates and static respectively.

Now open any text editor any type then simple hello world! Application code.

This image has an empty alt attribute; its file name is how-to-configure-flask-in-python-codesnipts.png

Now open again CMD and run the code like this it in the same directory as I told above

E>: CD flask

E:>flask > CD app

E: flask> app python __init__.py

Http://127.0.0.1:5000/ is running on…

Something like this will be shown if everything is correct. Now open the browser and type the same URL and see the result.

Since Python is case sensitive language so make sure you have typed the same code as above.

Conclusion

I hope you learned explained above, If you have any suggestions, are appreciated. And if you have any errors comment here.

Ok, Thanks for reading this article, see you in the next post.

Happy Coding 🙂

If you face any problem regarding configuration or running the code then you can watch this video.

If you want to integrate CKEditor in your web app, then you in the right place. When we create a website or web application, there are some Form fields on your page when you type on that you can not make text formatting, underline, bold, italic, etc. I have an amazing thing that can perform all these tasks that you want. You can also download it from here and link it to your pages. So without any waste of time lets introduce CKEditor. You can check this beautiful demo.

What it does

  • Basic Text Styles: Bold, Italic and More
  • Using the Copy Formatting Feature
  • Removing Text Formatting
  • Applying Styles to Editor Content
  • Applying Block-Level Text Formats
  • Setting Text and Background Color
  • Source Code Editing
  • HTML Output Formatting
  • Pasting Content from Microsoft Word
  • Inserting Code Snippets
  • Table Creation

How to Integrate into your website

in order to integrate it just follow some easy steps :
<script src="https://cdn.ckeditor.com/4.13.0/standard/ckeditor.js"></script>

And wherever you want to place your editor then put this code

<textarea name="editor1"></textarea>
 <script>
     CKEDITOR.replace( 'editor1' );
 </script>

Hence the Final code would be as :

<html>
     <head>
	 <meta charset="utf-8">
	  <title>CKEditor Tutorial by Geekquench.com</title>
	<script src="https://cdn.ckeditor.com/4.8.0/standard/ckeditor.js"></script>
    </head>
   <body>
	<textarea name="editor1"></textarea>
	<script>
		CKEDITOR.replace( 'editor1' );
	</script>
   </body>
</html>

Congratulations !! 🙂 Now you can integrate CKEditor, nice thing on the web page, Although these steps were very easy if you still face any problem then you can watch this video tells how to integrate CKEditor.

The same thing is told in this video.